


Related articles
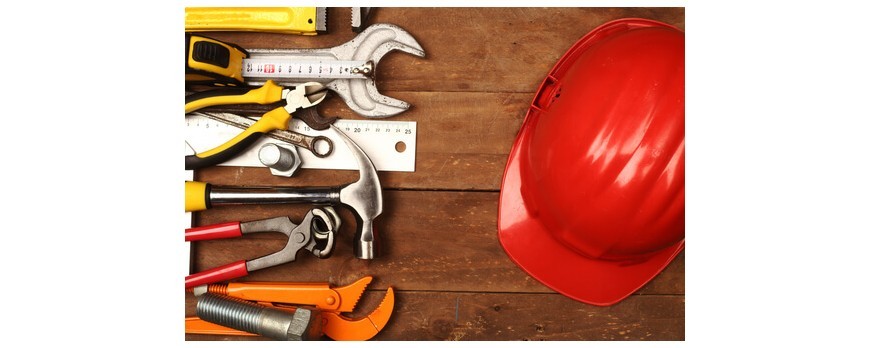
Basic tools for everyday use
Basic tools for everyday useThere are few things as rewarding as being a handyman and being able to use them...
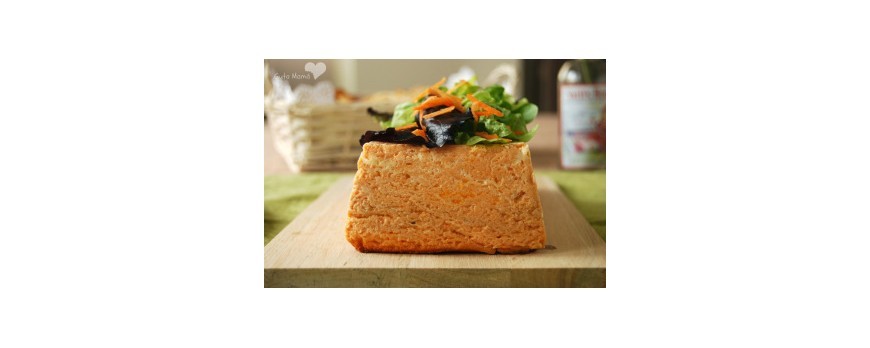
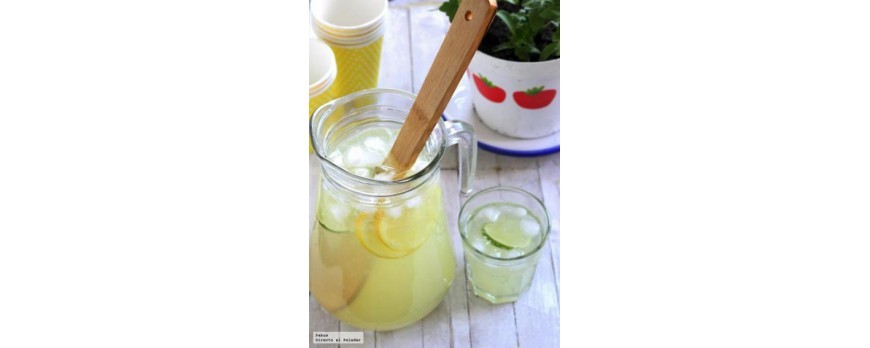
Microwave recipes
Microwave recipesHere are three quick and easy proposals for recipes you can make in the microwave....
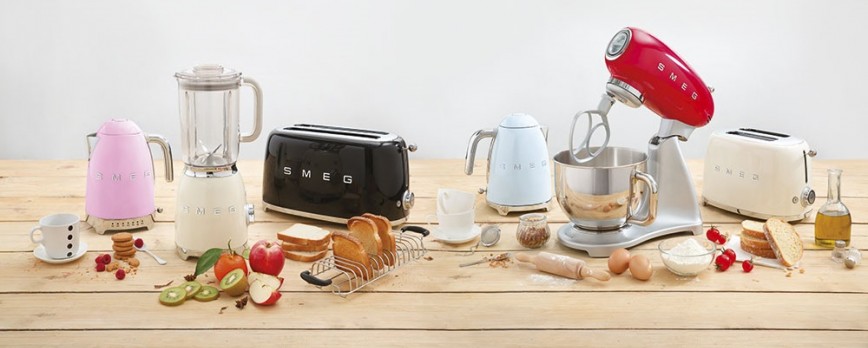
The trendy household appliance is called SMEG.
The SMEG brand has recently entered the SMEG range of household appliances and is now one of the most popular ...
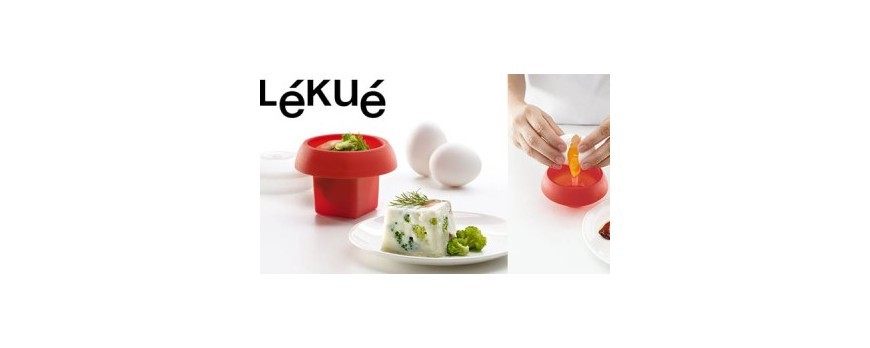
EVERYTHING YOU NEED TO KNOW ABOUT LÉKUÉ
EVERYTHING YOU SHOULD KNOW ABOUT LÉKUÉToday we would like to introduce you to one of the most sought-after brands in the...
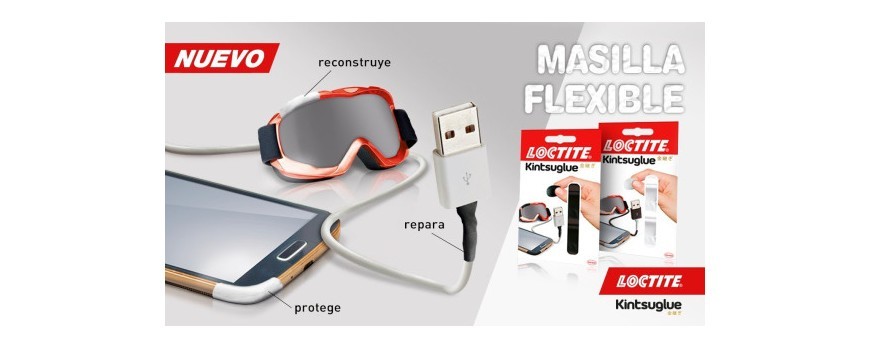
Latest from Henkel: Loctite Kintsuglue
The latest from Henkel: Loctite KintsuglueThe latest from Henkel laboratories, Loctite Kintsuglue, arrives at Ferreterias Leonesa...
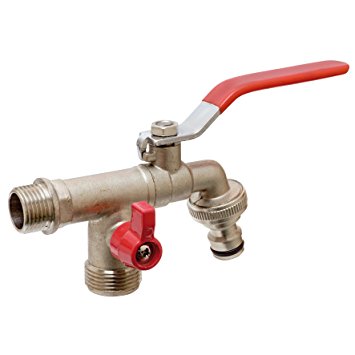
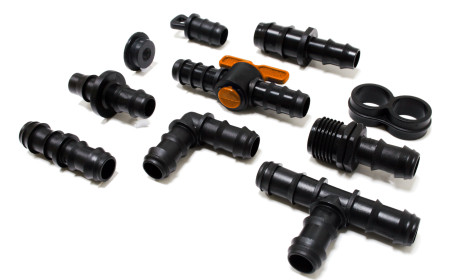
INSTALL YOUR DRIP IRRIGATION SYSTEM
INSTALL YOUR DRIP IRRIGATION SYSTEMWith the arrival of spring, the first rays of sunshine are visible....
Pendant bulbs
Hanging light bulbsDo you know what these three images have in common?
...

IMPROVE YOUR PIZZAS!
IMPROVE YOUR PIZZAS! Pizzas are one of the most popular dinners and meals, enjoyed by everyone....

WHAT ARE LED BULBS?
WHAT ARE LED BULBS? For some time now, it is likely that you have heard on several occasions that LED bulbs are...

5 CLEANING TIPS
5 CLEANING TRICKSIf you're going to take advantage of this San Isidro festival to do a bit of cleaning, you can...
DIFFERENT TYPES OF BOWLER HATS
DIFFERENT TYPES OF PUMP PUMPSThere are times when, for various reasons, we are forced to change ...
BARBECUE RECIPES
BARBECUE RECIPESFor some of you the barbecue season has already started. If you are planning a barbecue ...